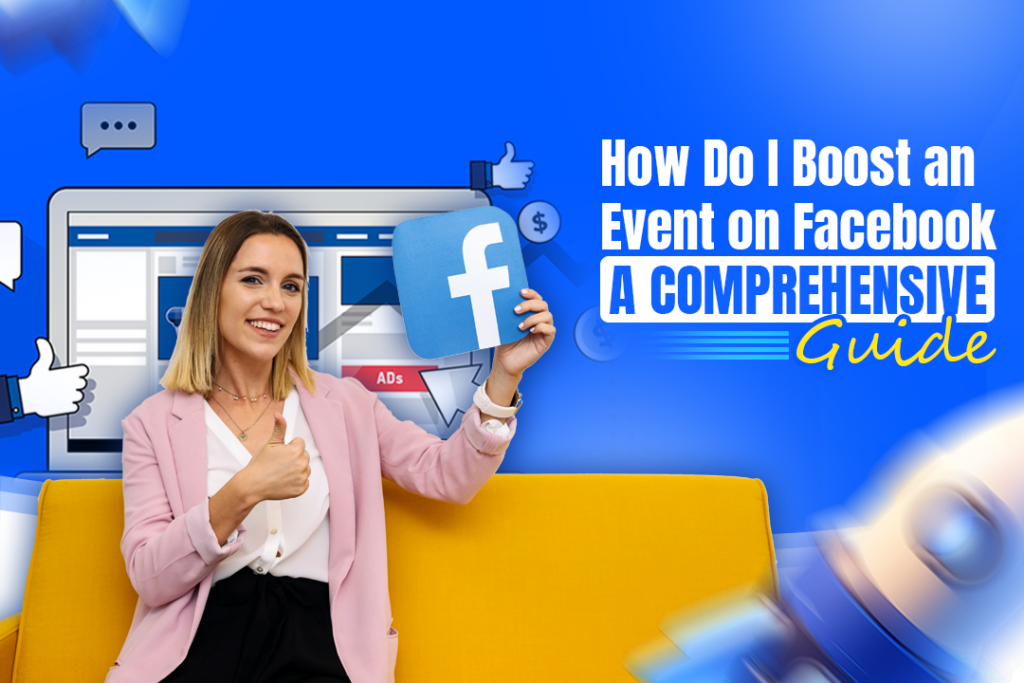
Do you have a fantastic event coming up but are struggling to get the word out? Boosting your event on Facebook can be a game-changer!
Think about it: Over 700 million people use Facebook events to promote their events every month. And 35 million people see public events on their Facebook feed every day! Also, with Facebook’s laser-targeting advertising capabilities, you can sift through the crowd and reach people interested in your events.
If your question is,’ How do I boost an event on Facebook?’ Don’t worry—we’ll cover everything you need to know about it step-by-step. So let’s get started.
Step-by-Step Guide to Boosting an Event on Facebook
There are two ways to boost an event on Facebook. You can create an event ad directly on Facebook Ads Manager or boost your page.
1. Create a Compelling Event Page
Your event page is the key to its success. It acts as a landing page where attendees will find all the relevant information. As a result, your event page needs to be well-optimized and compelling enough to earn more RSVPs.
An effective event page is visually appealing, detailed, and informative. Since it influences your conversion rate, it’s essential that you only include helpful information for your attendees.
Here are some tips that work:
- Start with the vitals. Ensure all the information on your event page is appropriately and correctly filled out. This includes your event name, time, date, location, and registration link (if applicable).
- Your Facebook event name is an essential element of your page as it directly influences your attendee’s decision to click through once it pops up in their feed. So, you need to craft one that quickly communicates the relevance of your event to them. Ideally, it should answer the question, ‘What’s in it for me?’ at a glance.
- We recommend using a unique, catchy, simple name for your event page to win a click-through. It’s okay to use something creative; however, keep it short, as Facebook only allows up to 64 characters for all event names.
- For your cover photo, use aesthetically pleasing, high-resolution visuals that quickly communicate what your event is all about. It can be a video from your previous event or a picture of a well-respected thought leader/influencer gracing your show. Facebook recommends that all images be 400 x 150 pixels (or larger with no next). Read more about the guidelines here.
- Take advantage of the description section to add all the exciting details about your event. This is also where you show the ‘what’ and ‘why’ of your event. While you’re not limited in terms of characters/texts, keep it relevant, engaging, and informative.
- Include all default information such as date, time, event schedule, speakers (if any), contact information, and age restrictions. If you plan to sell tickets for your event, add information on the costs and how attendees can get them.
- One advantage of advertising on Facebook is that you can multiply reach by adding other pages as co-hosts of your event. Your event automatically appears on the invitee’s page whenever you do this. Remember that adding brands as co-hosts allows them to edit and change things on your event page. That said, only add brands you can completely vouch for.
Tip: Keep the most critical information in the first two lines for your description, especially if you have much to share. Most people might not read to the end, and you don’t want them to miss the necessary details.
Secondly, before you publish your event page, preview it on mobile and desktop to ensure it looks correct and is user-friendly.
2. Use the Boost Event Feature
Now that your event page is all setup, it’s time to amplify your reach using the ‘Boost Event’ feature. To do this, go to your Facebook page and click promote >> Boost an event.

Credit: Hubspot
When you click ‘Boost an Event,’ you’ll see a drop-down menu where you can choose the event you want to promote. After this, you’ll be required to add details of your ads – select your audience, add an ad copy, and set a budget.
Facebook also allows you to choose your CTA based on the goal of your event ad. For instance, if your goal is to sell tickets, the ‘Get Tickets’ call to action button appears on your ad.
Let’s go into more details:
3. Define Your Audience
One of the many advantages of using Facebook Ads Manager is the ability to laser-target people interested in your event. You can target people based on their demographics, interests, browsing history, or location.
Facebook has different options and criteria for this:
- The event engagement custom audience: This type allows you to reach people interested in your previous or upcoming event. For example, those who interacted with your event page or purchased your tickets. This type is best for maximizing your ad spend, as it allows you to re-engage people familiar with your events/page/brand.
- Audience from previous events: If you have a list of people who purchased tickets from your last event, you can upload it directly to reach them again. This type is best for recurring events or to re-engage participants who have shown interest in previous events.
- The lookalike audience: You can also target people with similar interests to your attendees (source audiences). Facebook factors demographics, interests, behaviors, and browsing history to find new people who share similar qualities with your source audience. This type is also best for B2B event managers looking to maximize ad spending and reach people likely to attend their event.
- The location-based audience: If your event is location-based, you can target people living near your event venue. This type of audience is best for local events, such as community gatherings and regional business seminars.
4. Set your Budget and Duration
Ad budget is the amount of money you’re willing to spend so that people can see your ads. The good thing is there’s no limit on how much you should spend promoting your event. But, the more your ad budget, the higher the reach. So, allocate enough budget to bring in the most RSVPs.
Before setting a budget, you must understand what you’re trying to achieve – increasing RSVPs, driving ticket sales, or raising awareness. This will help you know how to allocate your resources effectively.
Using the cost-per-result goal makes it easy to maximize your conversions without overspending. This option allows you to tailor your ad spend on a desired action (like engagement or ticket sales). The advantage of this bid strategy is that you don’t have to spend on impressions that aren’t relevant to the bottom line.
Tip: Consider boosting your event a few days or weeks before the event date for optimal results. This will allow you more exposure and build awareness before your event.
The next step is to…
5. Craft a Captivating Ad
Your event ad (text, image (or video) is essential to your campaign and can make or break your audience’s interest. At the same time, the ad image grabs their attention while the copy tells them why they should click through. Both work in tandem to increase your ad conversions.
For your ad text:
- Keep it concise and straight to the point. Facebook recommends you stick to 90 characters or less. Get creative, too! It should also answer the question ‘What’ and ‘Why’ and be compelling enough to get a click from your attendees.
- Stick to your goal. If you want to sell tickets via your ad, your copy should focus on driving ticket sales. For example, highlight exclusive features or special discounts to make your event irresistible.
- Open your ad copy with a strong hook. Tailor your message to your audience and the benefits they stand to gain. Use magic words like Free, 20% off, you, limited, save, etc. You can also add the names of the guest speakers (especially if they’re influencers or industry leaders). See this example from the Content Marketing Virtual Summit event:

Credit: Hubspot
- Include an eye-catching, short, and juicy CTA (call to action) to close your offers.
For your ad images/videos:
- If you add your copy (or text) to the image, ensure it doesn’t take up more than 20% of the space. Also, keep it modest. It shouldn’t obstruct or contrast the visuals. See this example from Pathway Events:

Credit: Pathway Events
- Use high-resolution visuals to make your ad look attractive and professional. Also, follow the image and video formatting guidelines.
- Your ad copy and image should go hand in hand.
- Add captions to your videos since they autoplay on mute in the news feed.
Tip: Put the most essential message where it’s more likely to be seen. For instance, instead of populating your ad copy with details such as the location, time, and event date, you can put them in your ad image/video.
6. Monitor and Adjust
Once your event ads are up and running, you can monitor your performance on your Meta Ads Manager dashboard. There are different metrics you can track:
- The number of people who responded to your ad
- The number of purchases (or tickets sold) via the Facebook event page
- The number of people who saw your ads
- The number of click-throughs on your event ad
- The amount of money spent on your ad campaign
- The number of times your ad was on the screen
Also, you can customize the column in your ad manager to showcase metrics that are important to you.

Based on these insights, you can make data-backed decisions to optimize your campaign performance, allocate resources more effectively, and maximize ROI. For context, if your ad is performing excellently and driving many RSVPs, you can increase your budget to amplify its reach.
Tips for Maximizing Impact:
Here are some tips to help you make the most of your event promotion on Facebook:
1. Promote Early and Often
Promoting your event before the due date gives you enough time to reach more people and get your fans excited about your event. Also, you have enough time to monitor your ad performance and improve where necessary for even better results. Your attendees will have enough time to plan for the event (especially if it’s an in-person event) and RSVP.
The best way to do this is to create a cadence of reminders.
- 6 – 8 weeks before the event: Share all the vital details your attendees should know, such as safety or accessibility precautions.
- 3 – 6 weeks before the event: Share engaging content, such as video snippets from your last event. Or, organize content or giveaways for comments with the highest engagement to get more interactions on your posts and eyes on your event.
- 1-6 weeks before the event: People enjoy seeing sneak peeks into what goes beyond the scene. Show them videos or images of how you’re organizing the event and gifts to be won. This can create a sense of FOMO (fear of missing out) and incentivize people to RSVP and secure their spots.
- As the date nears, send reminder emails or run a social media giveaway to follow up on people who have indicated interest in your event.
Tip: Don’t limit your promotion to Facebook. Share your event across all your social media channels to increase visibility and get more attendees. Use custom and keyword-relevant hashtags in your posts to show up when your potential audience is searching for you.
Read more: How to build effective B2B social media strategies.
2. Engage with Interested Users:
Once the engagements have started trickling in, respond swiftly and politely to comments and messages to build excitement and trust. Some of your attendees may have questions about the speakers or the event in general. Take time to provide detailed, helpful answers to make them feel like a valued community member.
3. Use Event Co-Hosts
One of your greatest assets for boosting your event’s visibility is the people you’re co-hosting with. Co-hosting, in general, is a free way of promoting your event to reach more people. When co-hosts share the event on their pages, it automatically appears in their audience’s feeds, increasing your attendee pool. You can collaborate with many people to increase your visibility.
Tip: Use Eventible’s B2B speaker directory – Gazebo – to find top-rated speakers and thought leaders in your industry.
Read more: 17 different ways to promote your event.

Comments are closed.